Last Updated: November 8, 2026
Quick Summary
To replace a chainsaw bar and chain, switch off the saw and remove the battery or let the engine cool, then release the chain brake, loosen the bar nuts and back off the tensioner until the chain lifts clear. Match pitch, gauge and drive-link count before ordering, fit the new chain with cutters facing forward, and retension after the first few cuts.
- A chain that jumps or binds is dangerous, so check pitch, gauge and drive-link count before you order.
- Clean the bar groove and check the oil holes while the bar is off, since a blocked oil hole is the most common cause of overheating.
- Align the tensioner pin with the bar hole or turning the tensioner screw will not move the bar.
- Check tension after the first few cuts because new chains stretch as the pins and bushings bed in.
- Replace the bar when the rails are worn, the nose sprocket is loose, or the bar is bent.
Table of Contents
- What You Need Before You Touch the Bar and Chain
- Chainsaw Bar and Chain Compatibility: Match the Numbers First
- How to Replace a Chainsaw Chain Step by Step
- Chainsaw Chain Tension Adjustment and Break-In Retensioning
- When to Replace a Chainsaw Bar and How to Spot Wear
- Troubleshooting After Installation
- Ordering the Right Replacement Part From Chainsaws R US
- Frequently Asked Questions
What You Need Before You Touch the Bar and Chain
A chainsaw bar and chain replacement tips guide saves you time only if you start with the right gear and the saw switched off. A rushed swap is a common reason bars and chains get damaged, so before you spend, get the basics right.
Tools and Preparation Checklist
You need a few simple tools to do this job properly. Gather them before you start:
- A scrench (the combination wrench that came with your saw)
- Round files in the right size for your chain
- A flat file for depth gauges
- A bar groove cleaner
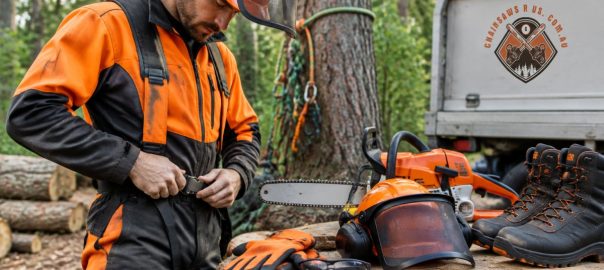
- Work gloves and safety glasses
- A clean, flat work surface
Our 10 piece bar and chain tool kit covers the files, depth gauge and groove cleaner in one set. Lay everything out first. Hunting for a file mid-job is how people lose parts.
Safety and Power Isolation
Kill the power before anything else. On a petrol saw, switch off the engine and let it cool. On a battery saw, pull the battery out. A chain brake is not a substitute for removing power.
Wear gloves. Chains have sharp cutters even when worn. Safety glasses stop debris from flying as you clean. Never work on a saw that is still warm from a long cut.
Chainsaw Bar and Chain Compatibility: Match the Numbers First
The right bar and chain must match three numbers: pitch, gauge and drive-link count. Get one wrong and the chain will not sit on the bar correctly. A chain that jumps or binds is dangerous, so check the numbers before you order.
Here is what each number means:
- Pitch: the distance between drive links, such as 3/8″ or .325″
- Gauge: the thickness of the drive-link tang that sits in the bar groove
- Drive-link count: how many links the chain has, which must suit your bar length
The Oregon chain identification tool helps you read these numbers off your old chain. If you are unsure which set suits your saw, our guide on which bar and chain combo kit fits your saw walks through the match.
How to Replace a Chainsaw Chain Step by Step
Replacing a chain is quick once the saw is clean and powered off. Work on a flat bench with good light. Keep the old chain to one side so you can compare it to the new one, and lay the new chain out flat so the cutters are visible before you start.
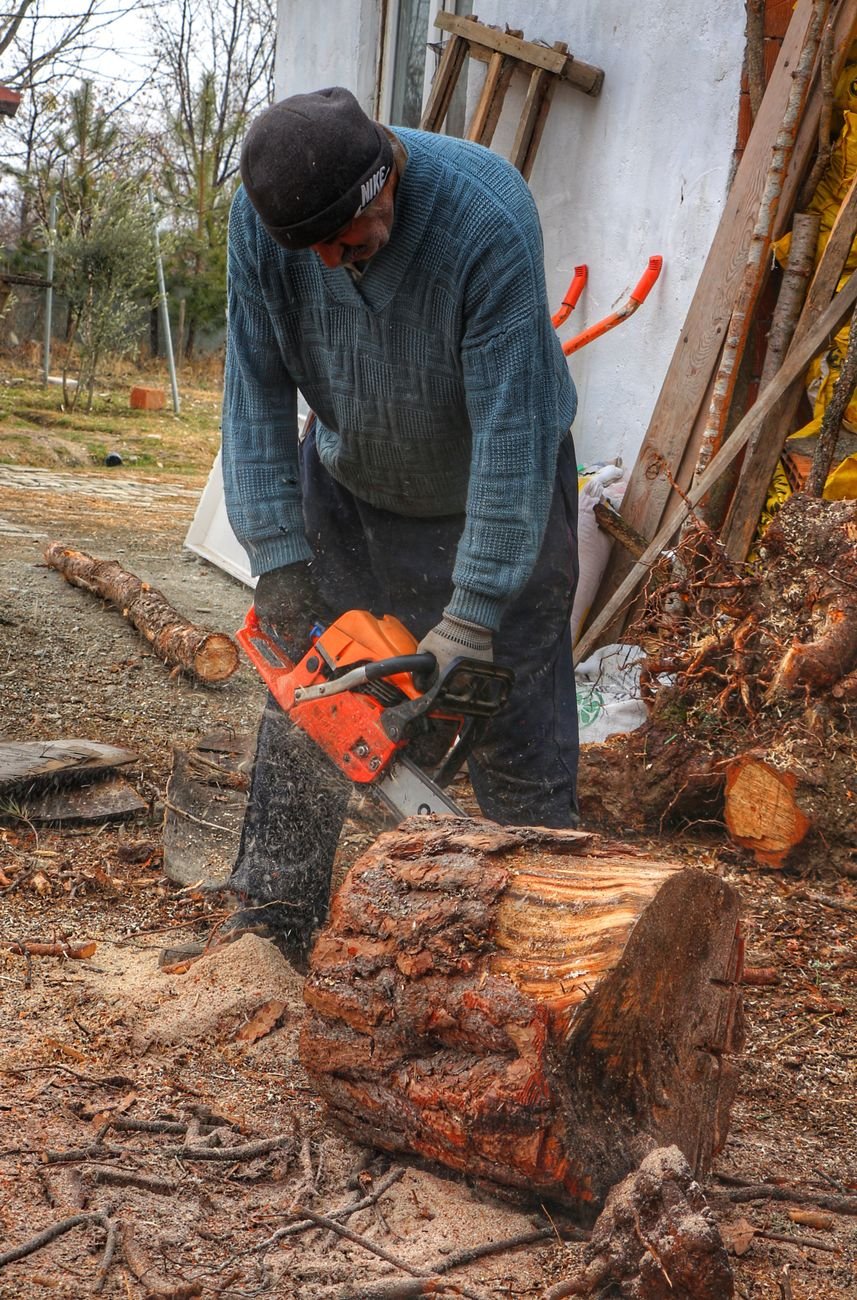
Removing the Old Chain and Guide Bar
Start by releasing the chain brake so the chain moves freely. On most saws the brake is engaged when the hand guard is pushed forward; pull it back toward the rear handle until it clicks and the chain turns by hand.
Loosen the bar nuts with your scrench, usually two nuts on the clutch cover, though some smaller saws use a single tool-free knob. Back off the tensioner screw until the chain hangs slack and you can lift it clear of the bar rails. Lift the chain off the sprocket nose first, then walk it off the drive sprocket at the rear.
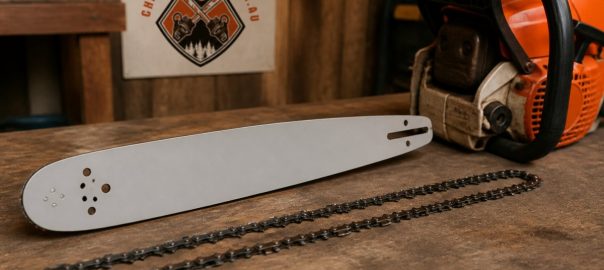
Slide the bar forward and off the studs. Clean the bar groove with a bar groove cleaner to clear packed sawdust and oil. Check the oil holes while the bar is off, a blocked oil hole is the most common cause of a bar that runs dry and overheats.
Watch out: if the bar nuts are seized or the studs are stripped, do not force them, a stripped stud means the cover will not clamp the bar and the chain will derail under load.
Fitting the Replacement Chain and Bar
Set the bar onto the studs and push it back toward the tensioner. Loop the new chain over the bar nose first, then around the drive sprocket at the rear.
Align the tensioner pin with the bar hole. The pin is a small peg on the tensioner that must sit inside the adjusting hole in the bar; if it misses the hole, turning the tensioner screw will not move the bar. Fit the sprocket cover and hand-tighten the bar nuts.
Check that the drive links sit fully in the bar groove along the whole length of the bar. A link sitting on top of the rail rather than in the groove will bind as soon as you tension the chain. Rotate the chain by hand a full turn to confirm it runs freely before you tighten anything.
Checking Direction and Cutter Orientation
Before you tension, confirm the chain direction. On most saws the cutters on the top of the bar point away from the engine; on the bottom they point back toward the engine. The drive links should sit centred in the groove, and the tie straps should clear the bar rails. If the chain sits proud of the bar or rocks side to side, the gauge is wrong for the bar, stop and check the numbers before you continue.
Chainsaw Chain Tension Adjustment and Break-In Retensioning
Correct tension means the chain sits snug against the bar but still pulls around by hand. With the bar nuts only hand-tight, lift the bar nose and turn the tensioner until the chain just touches the underside of the bar.
Tighten the bar nuts firmly with the scrench, then recheck. Tightening the nuts can pull the bar forward and change tension, so always verify after the final tighten. A chain that is too tight will overheat the bar and stretch prematurely; a chain that is too loose will derail and can whip.
Watch out: never check tension with the engine running or the battery fitted. A chain that moves under power can pull a glove or finger into the sprocket.
Break-In Retensioning
New chains stretch as the pins and bushings bed in. Check tension after the first few cuts and adjust again as needed. Carry a scrench with you so you can retension in the field rather than running a slack chain back to the shed.
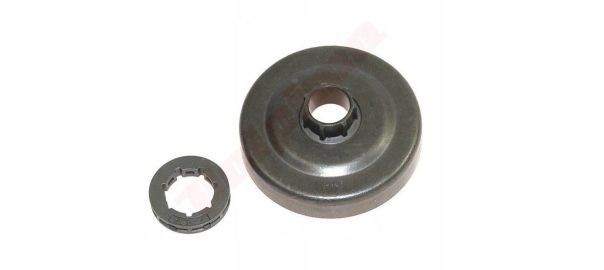
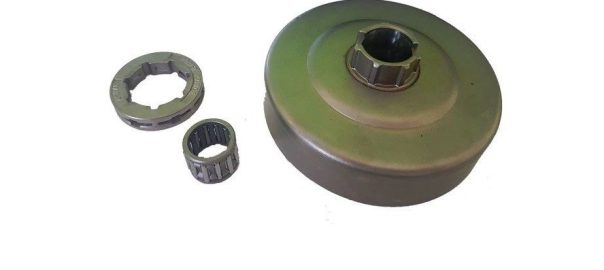
After the break-in period, check tension before each use. A chain that needs retensioning every few cuts is a sign of a worn bar groove, a worn drive sprocket, or a chain that is too loose to begin with. Our guide on how to spot a worn sprocket before it ruins your chain explains how a worn sprocket lets the chain run slack no matter how often you adjust it.
Reading Tension Symptoms
A chain that sags visibly on the underside of the bar is too loose. A chain that will not pull around by hand, or that smokes or smells hot after a short run, is too tight. A chain that derails repeatedly points to a worn bar groove or a mismatched gauge rather than tension alone. Check the groove with a straight edge before you blame the tensioner.
When to Replace a Chainsaw Bar and How to Spot Wear
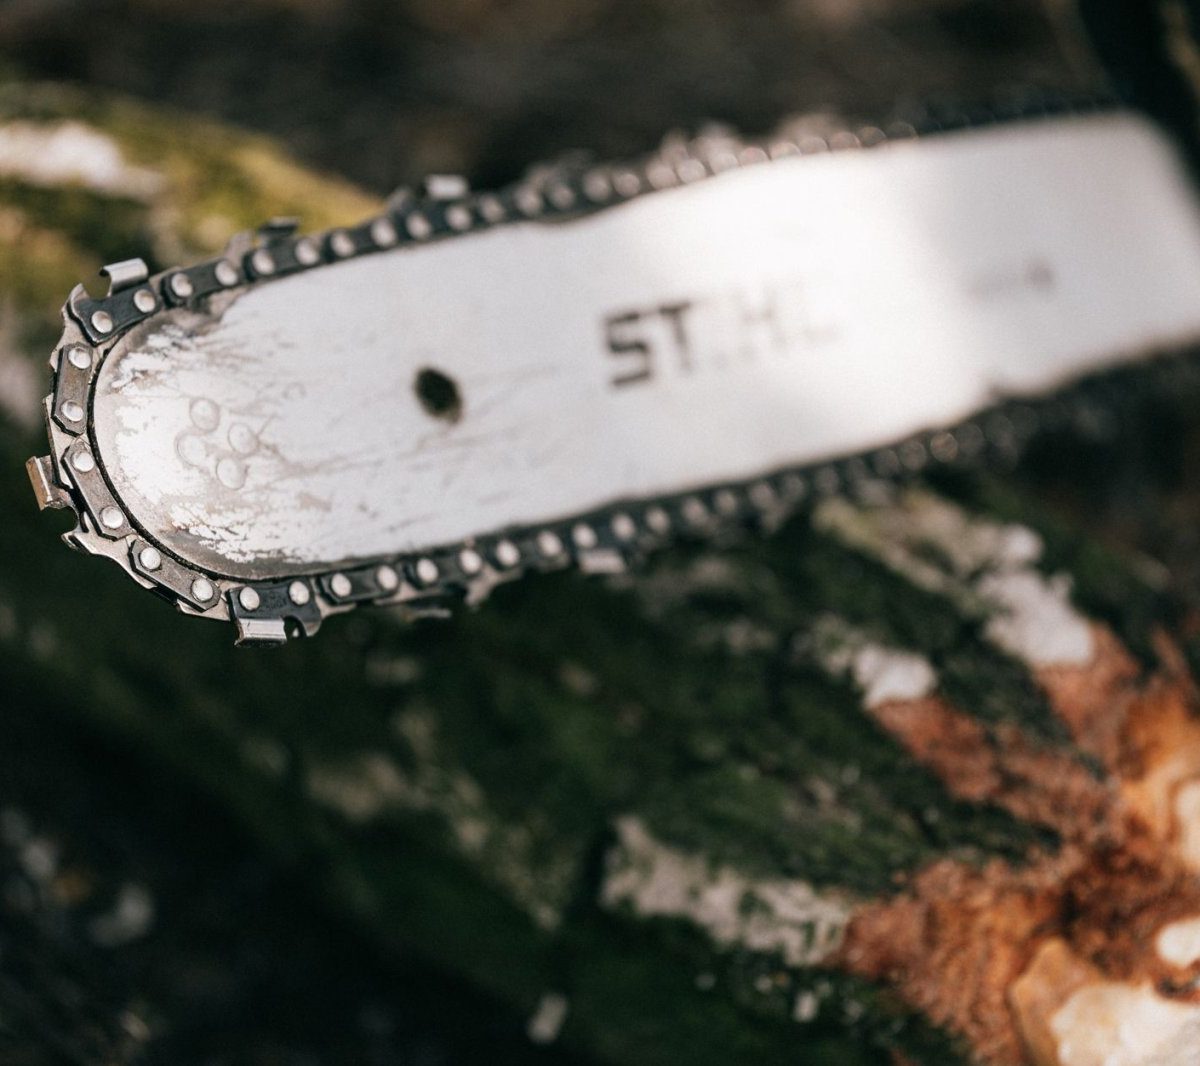
Replace the bar when the rails are worn, the nose sprocket is loose, or the bar is bent. STIHL’s general rule of thumb is one sprocket for every two chains and one bar, per STIHL’s sharp advice for chainsaw owners. Check the bar groove with a straight edge. A worn groove lets the chain rock and cut crooked.
Watch for these signs:
- Burrs along the bar edges
- A wobbly or noisy nose sprocket
- A bar that will not sit straight
- Uneven cut on one side
A worn drive sprocket also chews chains. Our guide on how to spot a worn sprocket before it ruins your chain shows what to look for.
Troubleshooting After Installation
If the chain will not move, the tension is too tight or the chain is on backwards. Check the cutters face the right way. If the chain jumps off, the tension is too loose or the bar is worn.
A chain that cuts crooked points to a worn bar or uneven cutters. If oil does not reach the bar, check the oil holes and the oil level. Fix these before you keep cutting.
|
Problem |
Likely Cause |
Fix |
|---|---|---|
|
Chain will not turn |
Too tight, or fitted backwards |
Loosen tension, check cutter direction |
|
Chain jumps off |
Loose tension or worn bar |
Retension, inspect bar groove |
|
Crooked cut |
Worn bar or uneven cutters |
Replace bar or sharpen evenly |
|
No oil on bar |
Blocked oil holes |
Clean holes and check oil level |
Ordering the Right Replacement Part From Chainsaws R US
Getting the numbers right before you order saves a return and a delay. At Chainsaws R US, we stock new and recycled chainsaw parts and ship Australia-wide, so you can get back to the job.
Have your pitch, gauge and drive-link count ready when you order, so you can check the part fits your saw before you commit.
A worn bar or stretched chain slows every cut and strains your saw. Get the numbers right, fit the parts with care, and check tension before you cut. Chainsaws R US stocks new and recycled parts with Australia-wide shipping and a satisfaction guarantee, so you can order with confidence. Get started with Chainsaws R US and keep your saw cutting clean.
Frequently Asked Questions
How tight should a chainsaw chain be after replacement?
With the chain brake released, the chain should sit snug against the underside of the guide bar and still pull around by hand with light resistance. You want roughly 1 to 2 mm of lift at the middle of the bar when you pull a cold chain up. Overtightening strains the drive sprocket and bar nose, while slack lets the chain jump the bar groove. Run the saw gently for a few minutes, then recheck tension once the chain has warmed and settled.
Should you replace the chainsaw bar and chain at the same time?
Not always. A bar often outlasts a couple of chains. Replace the bar earlier if the rails are worn, the groove is pinched, or the nose sprocket is rough. A new chain on a worn bar will wear fast and cut poorly, so if you are fitting a fresh chain and the bar shows heavy wear, swap both together for a straight, accurate cut.
How do you check the direction of a chainsaw chain?
Stand behind the saw and look along the top of the guide bar. The cutting teeth on the top run should point away from the engine, toward the bar nose. If they face the engine, the chain is on backwards and will not cut. Check the drive links sit fully in the bar groove and that the chain loops correctly around the drive sprocket before you refit the sprocket cover and tighten the bar nuts.
How do you maintain a chainsaw bar after fitting a new chain?
Clean the bar groove and oil holes, check the rails for burrs, and dress them flat with a bar file if needed. Flip the bar every time you change a chain so wear stays even. Keep the bar oil reservoir topped up and confirm oil reaches the bar nose. Store the saw with the chain correctly tensioned, and recheck tension after the first few cuts because a new chain stretches as it breaks in.