Last Updated: November 15, 2026
Quick Summary
To replace a chainsaw drive sprocket, remove the bar and chain, block the piston with a piston stop tool or clean rope, then turn the clutch clockwise to loosen its left-hand thread. Slide off the worn sprocket, fit a replacement with matching pitch, and refit the clutch and chain.
- Replace the sprocket when teeth show grooves, hooks or flat spots, or a new chain sits loose.
- Pull the spark plug lead and wear gloves before starting the job.
- Never use a screwdriver through the exhaust port to block the piston.
- Most saws use a left-hand clutch thread, so turn clockwise to loosen it.
- Refitting the clutch with the thread direction backwards is the most common mistake.
Table of Contents
- When to Replace a Chainsaw Drive Sprocket
- How to Inspect a Chainsaw Clutch Drum for Wear
- How to Replace a Chainsaw Drive Sprocket: Step by Step
- Frequently Asked Questions
When to Replace a Chainsaw Drive Sprocket
Replace a worn chainsaw drive sprocket when teeth show grooves, hooks or flat spots, or when a new chain sits loose on the worn teeth. A worn sprocket chews through new chains fast.
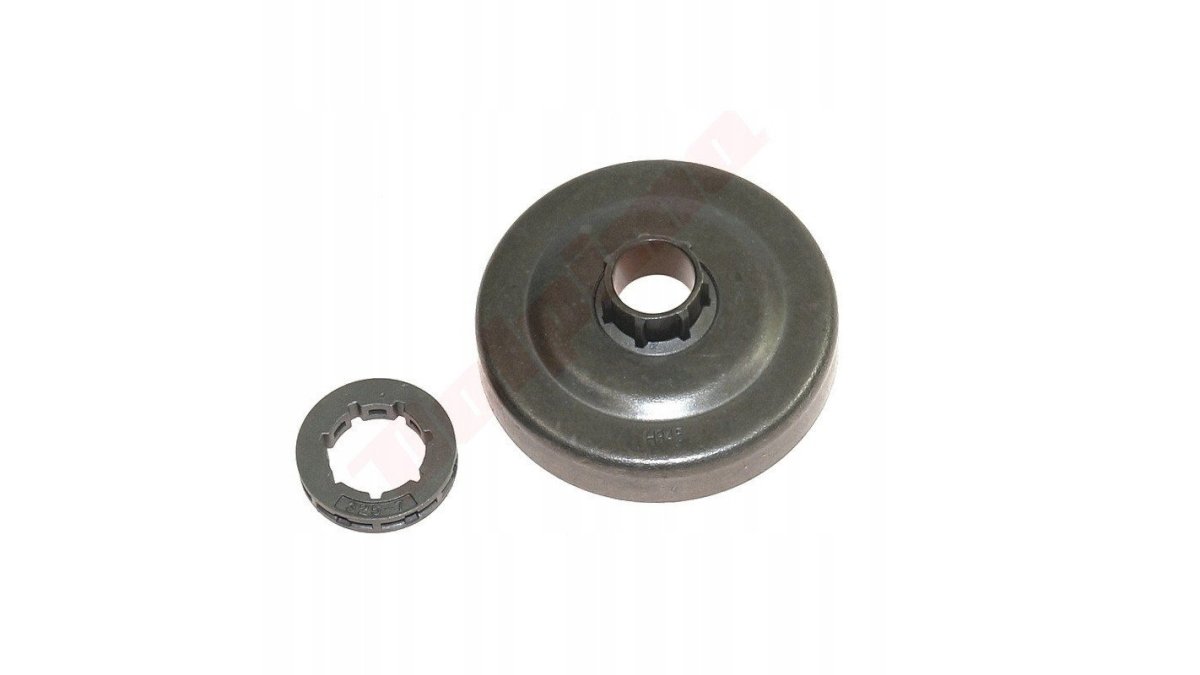
A chainsaw drive sprocket is the toothed wheel at the end of the clutch drum that pulls the chain around the guide bar.
Check it every time you swap a chain, and follow your model’s service manual. Before ordering, see our guide on how to verify chainsaw part stock.
How to Inspect a Chainsaw Clutch Drum for Wear
Inspect the sprocket teeth, drum bearing and drum for cracks or heat damage, with the bar and chain off and the spark plug lead pulled.
Check the sprocket teeth by finger or torch, then spin the drum by hand: it should turn smoothly with no grinding or wobble. Blue or purple discolouration means heat damage; cracks near the rim mean replacement. Replace a tired chain and sprocket together.
How to Replace a Chainsaw Drive Sprocket: Step by Step
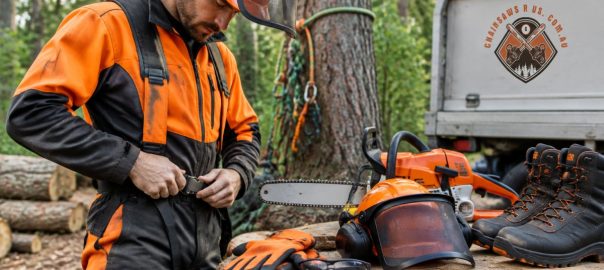
Safety first. Pull the spark plug lead and wear gloves.
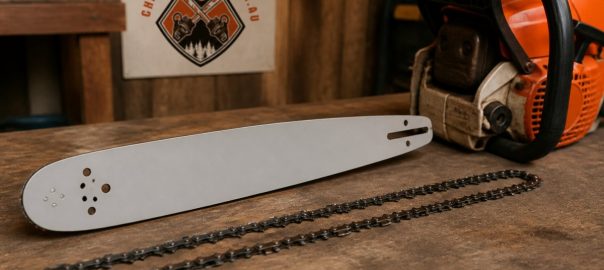
Step 1: Remove the guide bar and chain. Loosen the bar nuts, lift the side cover, and slide the bar and chain off.
Step 2: Remove the side cover and expose the clutch. Clean away sawdust and oil first.
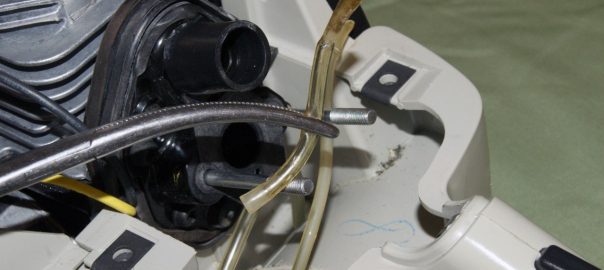
Step 3: Block the piston. Feed a piston stop tool or a loop of clean rope into the spark plug hole. Never use a screwdriver through the exhaust port.
Step 4: Remove the clutch. Most saws use a left-hand thread, so turn clockwise to loosen; confirm in your manual.
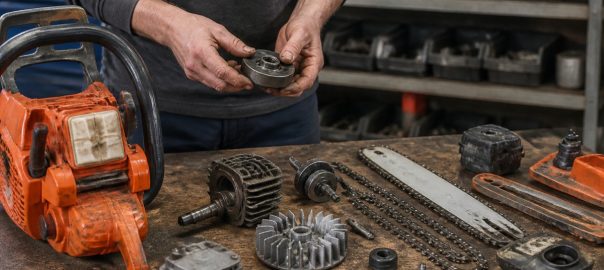
Step 5: Take off the worn sprocket or clutch drum. Slide it off the crankshaft, noting how the bearing and spacers sit.
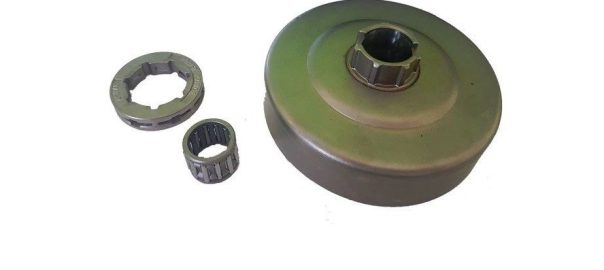
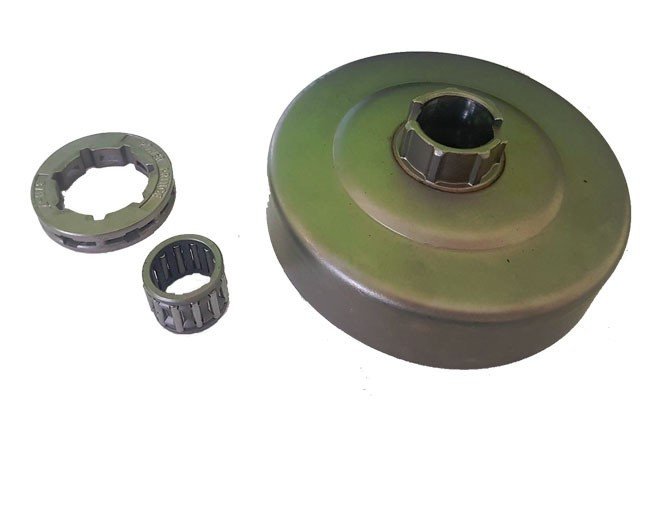
Step 6: Fit the replacement. Slide the new clutch drum or rim sprocket on, aligning the bearing and spacers, and check the sprocket pitch matches your chain pitch. Our clutch drum range covers most popular saws: Stihl 024/026 owners can use this .325 7T clutch sprocket, Stihl 240 to 281 owners the complete clutch sprocket kit, and Husqvarna 340 to 359 and Jonsered owners the matching clutch drum rim.
Step 7: Refit the clutch and reassemble. Thread the clutch back on, remembering the reversed thread. Remove the piston stop, refit the side cover, bar and chain, set chain tension, refit the spark plug lead, and start the saw.
Watch out: refitting the clutch with the thread direction backwards is the most common mistake. It feels like it is biting, then it spins free and strips the thread.
After the job, check: chain tension, oil flow to the bar, and that the chain spins freely by hand.
Rim sprocket or spur sprocket: which do you need?
A rim sprocket is a separate toothed ring that swaps on its own; a spur sprocket is machined into the drum as one piece. Match the sprocket pitch to your chain pitch every time.
Here is the seven-step sequence at a glance.
| Step | What to do | Key detail |
|---|---|---|
| 1 | Remove the guide bar and chain | Loosen bar nuts, lift side cover, slide off |
| 2 | Remove the side cover and expose the clutch | Clean away sawdust and oil first |
| 3 | Block the piston | Use piston stop tool or clean rope; never a screwdriver |
| 4 | Remove the clutch | Most saws use a left-hand thread; turn clockwise |
| 5 | Take off the worn sprocket or clutch drum | Note how the bearing and spacers sit |
| 6 | Fit the replacement | Match sprocket pitch to chain pitch |
| 7 | Refit the clutch and reassemble | Remove piston stop, set chain tension, refit lead |
A worn sprocket is one of those jobs that feels bigger than it is. Get the thread direction right, lock the piston, and the rest is turning a nut and sliding parts on and off. Chainsaws R US stocks new and recycled chainsaw parts with Australia-wide shipping, so you can get the right clutch drum, sprocket or kit for your saw and get back to the job. Shop the range, confirm your model, and fit the part with confidence.
Frequently Asked Questions
How do you know when a chainsaw drive sprocket needs replacing?
Check the sprocket teeth for hooked, sharpened or uneven wear, and look for grooves worn into the rim or spur. A worn sprocket will also let the chain ride loosely or sit unevenly. Replacement intervals vary by source and model, so inspect the sprocket every time you change a chain and follow your owner’s manual rather than a fixed chain count.
What chainsaw drive sprocket tools do you need for the job?
You’ll need a socket wrench or scrench for the bar nuts, a piston stop or piston stop tool to block engine rotation, and a clutch removal tool or the correct socket for your clutch. A brush for cleaning the crankcase and a torque wrench help you refit everything correctly. Check your service manual for the exact socket sizes on your model before you start.
Should you replace the chainsaw sprocket when you replace the chain?
Treat the chain and sprocket as one system. A worn sprocket accelerates wear on a new chain, and a stretched chain wears a new sprocket faster. If the sprocket shows hooked teeth or deep grooves, replace it at the same time as the chain. If it looks clean and the chain sits properly, inspect it and keep using it.